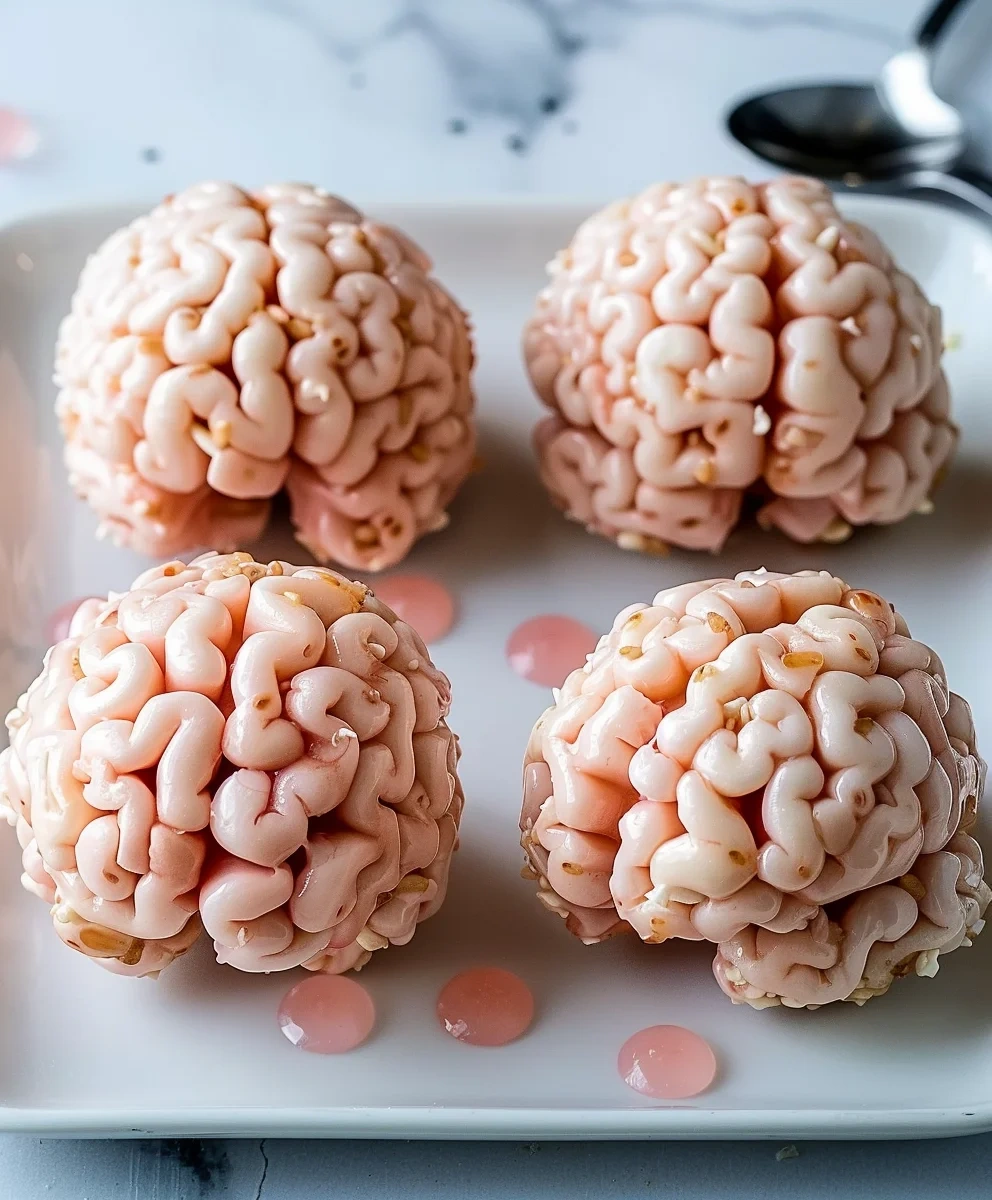
If you’re looking for a fun and spooky treat to delight your family and friends this Halloween, you’ve found it! These Marshmallow Rice Krispies Halloween Brains are not just a deliciously ghoulish snack; they’re also super easy and perfect for any gathering. Whether you’re hosting a Halloween party or just want to add some festive flair to a busy weeknight, this recipe is sure to impress.
What makes these Rice Krispies treats extra special is their whimsical design and the gooey marshmallow goodness. They bring back childhood memories while adding a creative twist that everyone will love. Plus, they’re no-bake, which means you can whip them up quickly with minimal fuss!
Why You’ll Love This Recipe
- Quick and Easy: This recipe comes together in under 90 minutes, making it perfect for last-minute spooky celebrations.
- Family-Friendly Fun: Kids will love helping mold the brains and drizzling the ‘bloody’ glaze—it’s a blast!
- Customizable Flavors: Feel free to play around with colors and flavors to make it your own.
- No-Bake Convenience: No oven required! You can enjoy these treats without heating up the kitchen.
- Perfect for Sharing: Bring them to school parties or potlucks; they’re sure to be a hit!
Ingredients You’ll Need
Here’s the best part: you probably already have most of these simple, wholesome ingredients at home! Gather your supplies and get ready for some kitchen fun.
- 6 tablespoons unsalted butter
- 6 cups regular marshmallows
- 4 cups crispy rice cereal
- 1/2 teaspoon salt
- Red gel food coloring, as needed
- 2 cups powdered sugar, sifted
- 3-4 tablespoons milk or water
- 1/2 teaspoon vanilla extract
- Blue or black gel food coloring, a few drops (optional)
Variations
This recipe is wonderfully flexible, so feel free to get creative! Here are some fun ideas:
- Add Some Crunch: Mix in chopped nuts or candy corn for extra texture.
- Switch Up the Color: Use different colors of gel food coloring to make green or purple brains—how spooky!
- Try Different Molds: If you don’t have brain molds, use other shapes like skulls or pumpkins.
- Make It Chocolatey: Substitute half of the marshmallows with chocolate-flavored ones for a chocolaty twist.
How to Make Marshmallow Rice Krispies Halloween Brains
Step 1: Prepare Your Workspace & Cereal
First things first! Generously grease your brain-shaped silicone mold(s) so that the treats come out easily later. Line a baking sheet with parchment paper. Measure out 4 cups of crispy rice cereal into a very large mixing bowl. A big bowl gives you plenty of space to mix everything without making a mess!
Step 2: Melt the Marshmallow Base
In a large non-stick pot over low heat, melt 6 tablespoons of unsalted butter. Once melted, add 6 cups of regular marshmallows. Stir gently until about 75% melted—this helps keep them from sticking too much. Remove from heat and stir vigorously until completely smooth. Quickly add in 1/2 teaspoon of vanilla extract and salt; this enhances the flavor and helps balance the sweetness.
Step 3: Combine & Color Cereal
Now it’s time for the fun part! Immediately pour that warm marshmallow mixture over your crispy rice cereal. Gently fold it all together until most of the cereal is coated. Add red gel food coloring until you achieve a pale fleshy hue—this is what gives our brains their spooky look! Work quickly here so that everything stays warm and mix well before it starts cooling down.
Step 4: Mold & Chill Brains
Lightly grease your hands or wear gloves (trust me, it can get sticky!). Firmly press small portions of your colored Rice Krispies mixture into the prepared brain molds, ensuring all crevices are filled properly—this gives them that cool brain texture! Level off the back then place them in the refrigerator for about 30-60 minutes until set. Once firm, gently unmold them with care.
Step 5: Prepare ‘Bloody’ Glaze
In a small bowl, combine your sifted powdered sugar with milk (or water) and vanilla extract. Whisk thoroughly until smooth but still thick enough to drizzle. Add red gel food coloring (and optional blue or black) until you achieve that deep, creepy red color that looks just like blood!
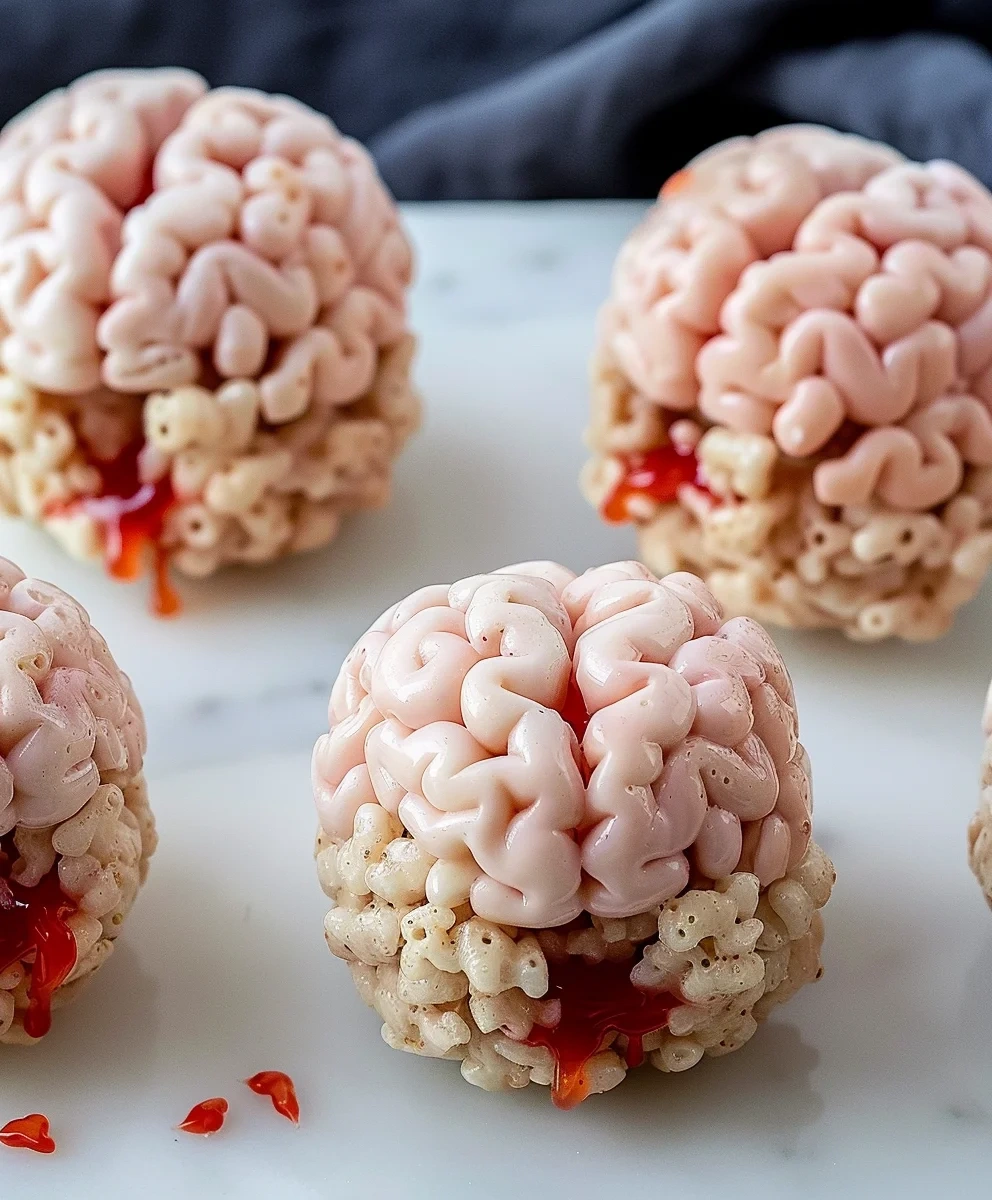
Step 6: Decorate & Serve
Finally, place those chilled Rice Krispies brains on a cooling rack set over parchment paper. Using either a spoon or pastry brush, drizzle that ‘bloody’ glaze over them generously while focusing on those lovely crevices—let those drips happen for an extra gruesome effect! Allow them to sit at room temperature for about 15-30 minutes until slightly set before serving or storing.
Now you’re ready to share these delightful treats! Enjoy every spooky bite!
Pro Tips for Making Marshmallow Rice Krispies Halloween Brains
Creating these spooky treats can be a fun and rewarding experience, especially with a few handy tips to ensure your success!
- Use fresh marshmallows: Fresh marshmallows melt better and create a smoother mixture, making it easier to coat the crispy rice cereal evenly.
- Work quickly: The marshmallow mixture cools fast, so be prepared to combine and mold immediately after melting for the best texture and shape.
- Experiment with colors: Feel free to mix different shades of red or even add some blue or black gel food coloring for a unique look that enhances the creepy vibe!
- Use gloves for molding: Wearing gloves keeps your hands clean and prevents sticking when pressing the marshmallow mixture into molds. It also helps achieve a neat finish.
- Let them set properly: Allowing the brains to chill in the refrigerator ensures they hold their shape well. A good chill is key to achieving that perfect brain-like consistency.
How to Serve Marshmallow Rice Krispies Halloween Brains
These ghoulish treats not only taste wonderful but can also be a visual delight at your Halloween gathering! Here are some fun ideas on how to present them:
Garnishes
- Edible glitter: A sprinkle of edible glitter can add an enchanting touch that makes your brains shine under party lights.
- Gummy worms: Place gummy worms crawling out of the brains for an added spooky effect, which kids find especially delightful!
Side Dishes
- Monster Fruit Cups: Serve cups filled with mixed fruit topped with spooky googly eyes for a refreshing yet festive treat.
- Witch’s Brew Soup: A vibrant green soup made from spinach or peas can be both delicious and thematic—perfect for warming up chilly October nights.
- Spooky Vegetable Platter: Arrange vegetables in eerie shapes or designs, like carrot sticks resembling fingers or olives as eyeballs, paired with a delicious dip.
- Ghostly Cupcakes: Bake cupcakes topped with ghost-shaped frosting; they complement the brains perfectly and make for an appealing dessert spread.
Whether you’re hosting a big party or enjoying a cozy night in, these Marshmallow Rice Krispies Halloween Brains are sure to impress both kids and adults alike! Happy haunting!
Make Ahead and Storage
These Marshmallow Rice Krispies Halloween Brains are perfect for meal prep, allowing you to whip up a batch ahead of time to save on stress during your spooky celebrations! They store well, making them an ideal treat for gatherings or just for enjoying at home.
Storing Leftovers
- Keep any uneaten Rice Krispies brains in an airtight container.
- Store them at room temperature for up to 3 days for optimal freshness.
- Avoid refrigerating, as this can make them hard and chewy.
Freezing
- Wrap each brain individually in plastic wrap or aluminum foil.
- Place wrapped brains in a freezer-safe bag or container.
- Freeze for up to 2 months; just thaw at room temperature before serving.
Reheating
- There’s no need to reheat these treats; serve them chilled or at room temperature.
- If they become too firm after freezing, let them sit out for about 15-20 minutes before enjoying.
FAQs
Here are some common questions about making Marshmallow Rice Krispies Halloween Brains!
Can I customize the color of my Marshmallow Rice Krispies Halloween Brains?
Absolutely! You can use different gel food colors to create unique shades, or even mix colors for an ombre effect. Just remember to work quickly before the mixture cools!
How many servings does the Marshmallow Rice Krispies Halloween Brains recipe yield?
This recipe typically yields 2-4 individual brains, depending on the size of your mold. You can easily double or triple the recipe if you’re expecting a larger crowd.
What can I use instead of butter in this recipe?
If you’re looking for a dairy-free option, you can substitute unsalted butter with coconut oil or a plant-based butter alternative. This will still give you that deliciously gooey texture!
How do I make the glaze for my Marshmallow Rice Krispies Halloween Brains?
To prepare the ‘bloody’ glaze, simply mix sifted powdered sugar with milk or water and add red gel food coloring until you achieve your desired consistency and color.
Final Thoughts
I hope this recipe brings a delightful touch of fun to your Halloween festivities! Making these Marshmallow Rice Krispies Halloween Brains is not only a treat but also a creative activity that everyone can enjoy. I encourage you to try them out and share them with friends and family. Happy haunting!
Marshmallow Rice Krispies Halloween Brains
- Prep Time: 20 minutes
- Cook Time: 10 minutes
- Total Time: 30 minutes
- Category: Main
- Method: Cooking
- Cuisine: International
Ingredients
- 6 tablespoons unsalted butter
- 6 cups regular marshmallows
- 4 cups crispy rice cereal
- 1/2 teaspoon salt
- Red gel food coloring
- 2 cups powdered sugar
- 3–4 tablespoons milk or water
- 1/2 teaspoon vanilla extract
- Instructions:
Instructions
- Grease brain-shaped silicone molds and line a baking sheet with parchment paper.
- In a large non-stick pot over low heat, melt the butter. Add marshmallows and stir until smooth. Mix in salt and vanilla extract.
- Pour the melted mixture over the crispy rice cereal and fold gently until coated. Add red gel food coloring to achieve a pale fleshy hue.
- Press the mixture into the molds firmly to create the brain shape and chill in the refrigerator for 30-60 minutes until set.
- For the glaze, whisk together powdered sugar, milk (or water), vanilla extract, and red gel food coloring until smooth. Drizzle over the chilled brains.
- Notes:
Nutrition
- Serving Size: 1 treat (45g)
- Calories: 170
- Sugar: 22g
- Sodium: 95mg
- Fat: 5g
- Saturated Fat: 3g
- Unsaturated Fat: 2g
- Trans Fat: 0g
- Carbohydrates: 30g
- Fiber: <1g
- Protein: <1g
- Cholesterol: 15mg


Leave a Comment